


: A sophisticated cyber threat")

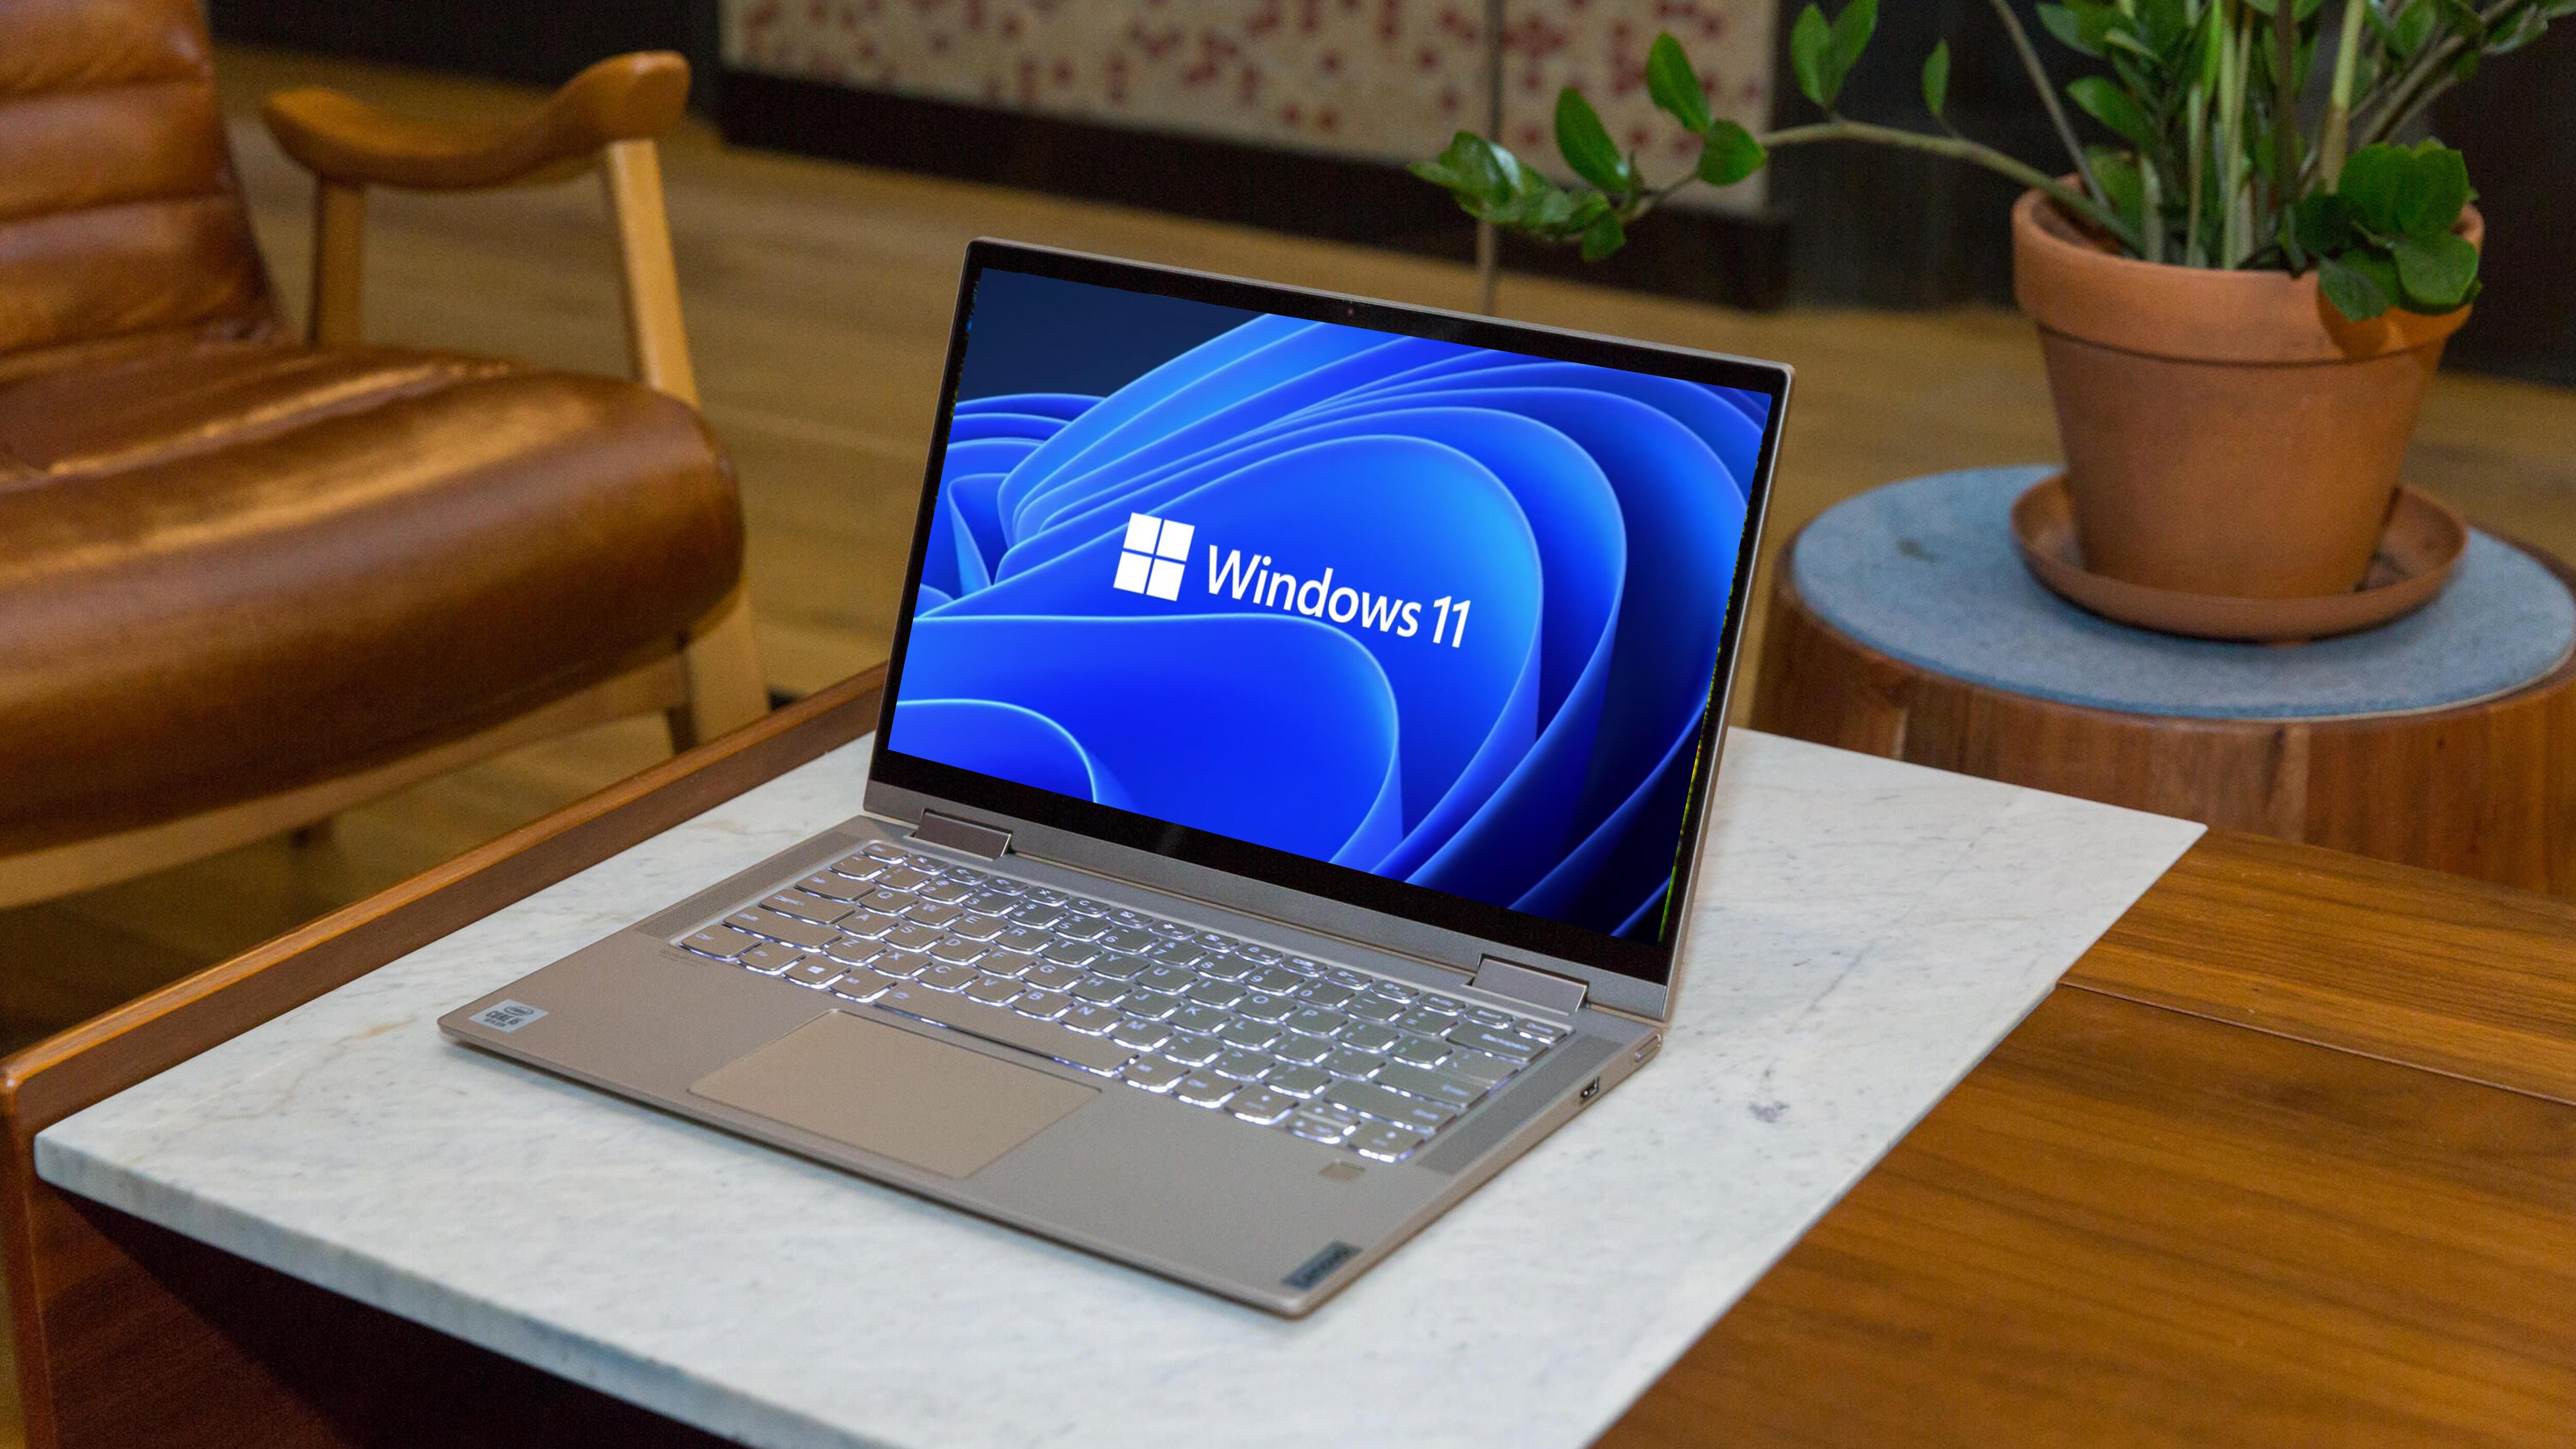
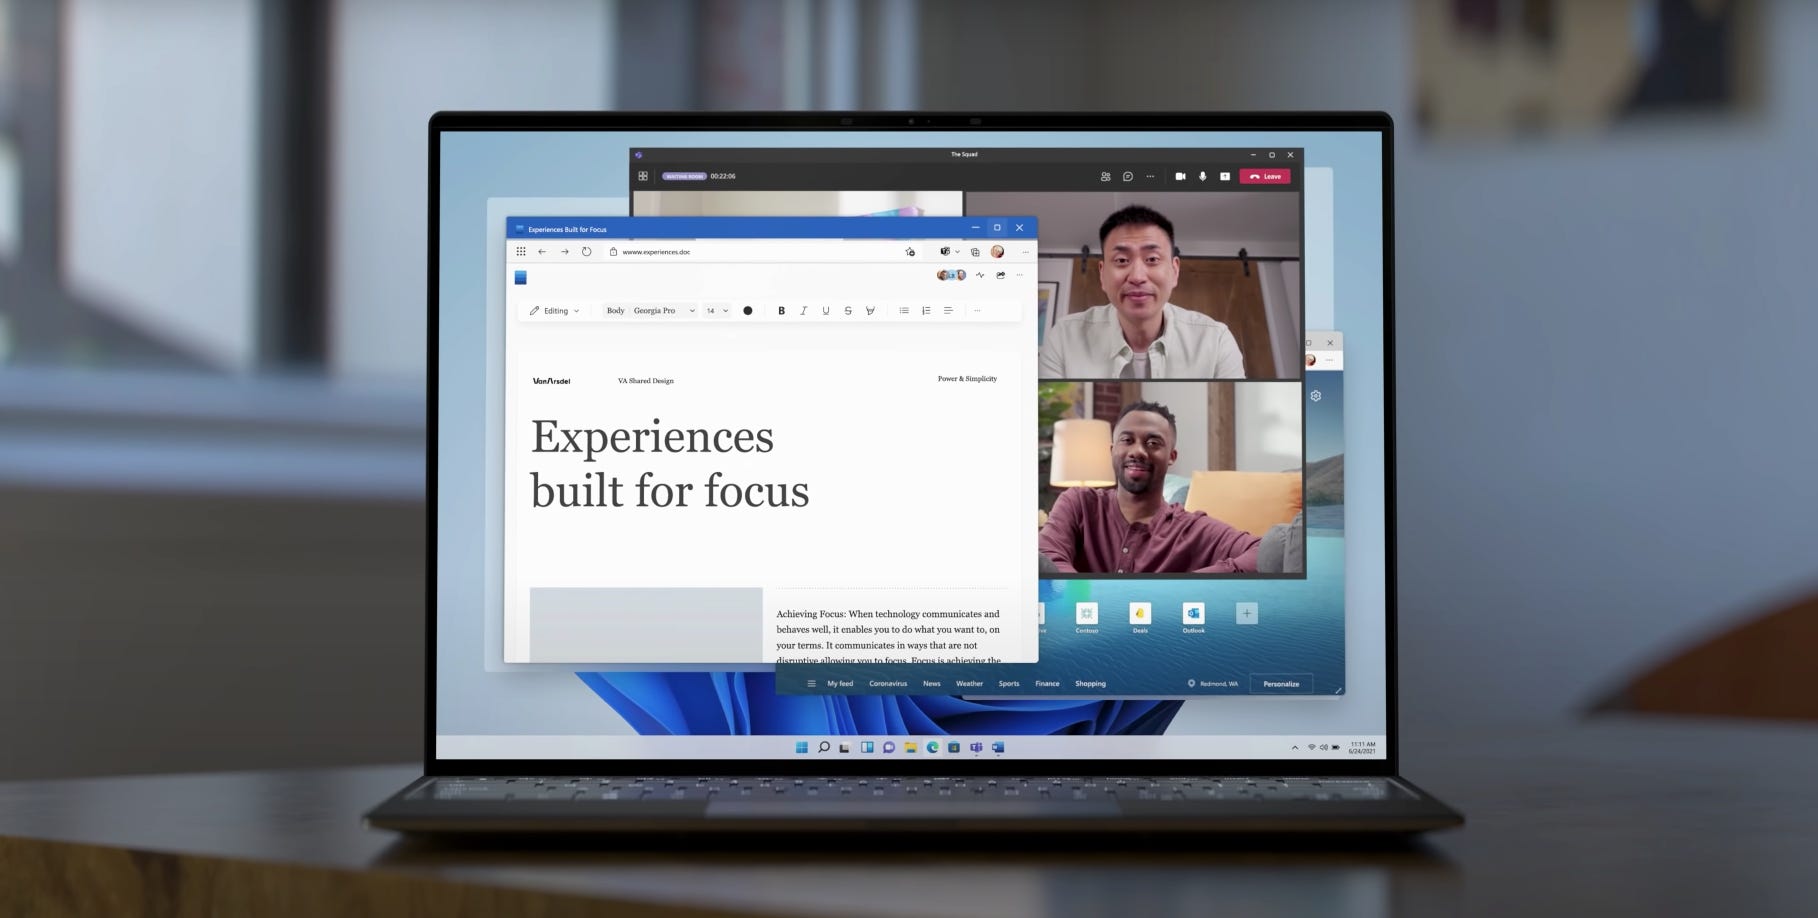
If you saw that your PC is not compatible with Windows 11, it may be because your system doesn’t have two security settings turned on, Secure Boot and TPM 2.0. Here’s how to do it.
Sarah Tew/CNET
Microsoft started a phased rollout of Windows 11 Tuesday. But you probably won’t get Windows 11 just yet. If you’re planning on downloading the new OS on your existing PC, you might run into some speed bumps due to the system requirements for the new operating system. (Here’s how to download Windows 11 and how to create a Windows 11 install drive.)
If you’ve tried installing Windows 11 Insider Preview or using the Microsoft PC Health Check app and were greeted with an error message reading, “This PC can’t run Windows 11,” your system might not have two essential security settings turned on: Secure Boot and TPM 2.0. (Here are two other things you must do before downloading Windows 11.) Many modern computers and processing chips from Intel and AMD have these features built in, and both are now required for all machines running Windows 11.
Once you’ve downloaded the PC Health Check app, you can click Check Now to begin the scanning process. The app will tell you whether your computer will support Windows 11, or what it’s missing, and you can click See All Results for more information.
If your machine is new enough to support both, enabling TPM (short for Trusted Platform Module) and Secure Boot is often quite easy. No special skills are needed, and you’ll just be clicking through menus. If you’ve never heard the words “BIOS menu” you might feel out of your element, but don’t be intimidated. With a little patience, any first-timer can do this.
Here’s what you need to know.
Read more: Windows 11 review: Microsoft’s OS upgrade is subtle, but we like that
What are TPM and Secure Boot?
TPM microchips are small devices known as secure cryptoprocessors. Some TPMs are virtual or firmware varieties but, as a chip, a TPM is attached to your motherboard during the build and designed to enhance hardware security during computer startup. A TPM has been a mandatory piece of tech on Windows machines since 2016, so machines older than this may not have the necessary hardware or firmware. Previously, Microsoft required original equipment manufacturers of all models built to run Windows 10 to ensure that the machines were TPM 1.2-capable. TPM 2.0 is the most recent version required.
TPMs are controversial among security specialists and governments. An updated and enabled TPM is a strong preventative against firmware attacks, which have risen steadily and drawn Microsoft’s attention. However, it also allows remote attestation (authorized parties can see when you make certain changes to your computer) and may restrict the kinds of software your machine is allowed to run. TPM-equipped machines generally aren’t shipped in countries where western encryption is banned. China uses its state-regulated alternative, TCM. In Russia, TPM use is only allowed with permission from the government.
Secure Boot is a feature in your computer’s software that controls which operating systems are allowed to be active on the machine. It’s both a good and bad thing for a Windows machine. On the one hand, it can prevent certain classes of invasive malware from taking over your machine and is a core defense against ransomware.
On the other hand, it can prevent you from being able to install a second operating system on your machine, giving you two to choose from when you first start up your computer. So, if you wanted to experiment with Linux operating systems, for instance, Secure Boot could stop you. Secure Boot also plays a part in preventing Windows pirating.
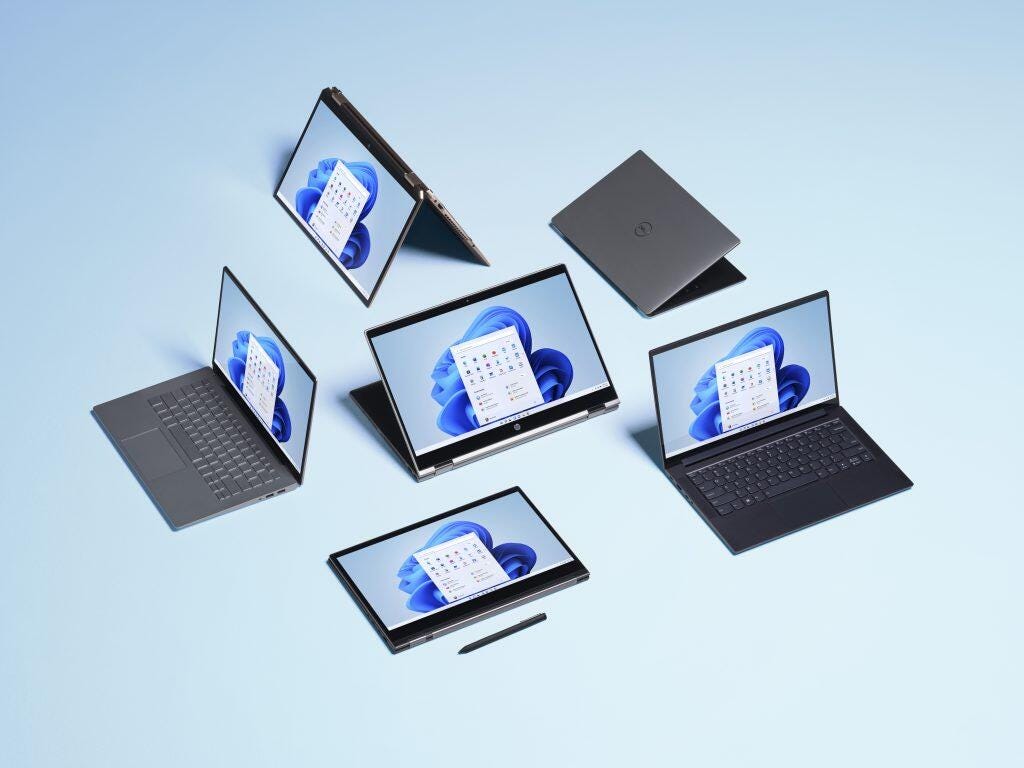
TPM and Secure Boot could be the key to getting your device to run Windows 11.
Microsoft
A few words of caution
Now that you know about the secure technologies you’ll be using, there are a few things you should keep in mind before you dive into fixing the issue on your own.
- Microsoft confirmed there are four types of problems that might have given you a “This PC can’t run Windows 11” error message if you used its PC Health Check tool. If you are missing the hardware or firmware necessary for Windows 11, the instructions below won’t help — you’ll need to buy a new device to run the OS.
- Keep in mind that these instructions are written as broadly as possible. That’s because Windows machines vary so much that it’s not feasible to cover all the possible ways to enable TPM and Secure Boot across every device. For the most part, though, the process is similar enough across machines that you should be able to use the instructions as a guide and, where your computer differs, still identify the equivalent menu or label in your own system.
- If your machine is still covered by a warranty, always speak with the manufacturer first before doing anything that could potentially void it. If your machine is owned and maintained by your company or school, it may have a unique security configuration that your IT staff will need to handle. It’s also a good idea to get in contact with your local PC repair shop; having a qualified professional on standby is the best way to get back on track if you get turned around or encounter roadblocks.
- Always back up your important files before making any big changes to your computer. Always. Just do it. You’ll thank us later.
- If this is your first time working in a BIOS menu, stick close to the instructions and don’t veer too far from the beaten path. We’re on a very simple mission here, and nothing I recommend below will do any damage to your machine or data, but changing firmware settings in your BIOS menu can have a wide-ranging impact. There are few guardrails here, and you can lose a lot of important data very fast. Some mistakes can be permanent and, in most cases, there won’t be any polite pop-ups gently asking whether you’re sure you want to make those mistakes.
You should definitely look around, explore your options and familiarize yourself with what’s under the hood, but avoid changing any settings or saving any of those changes unless you know specifically what’s going to happen when you do.
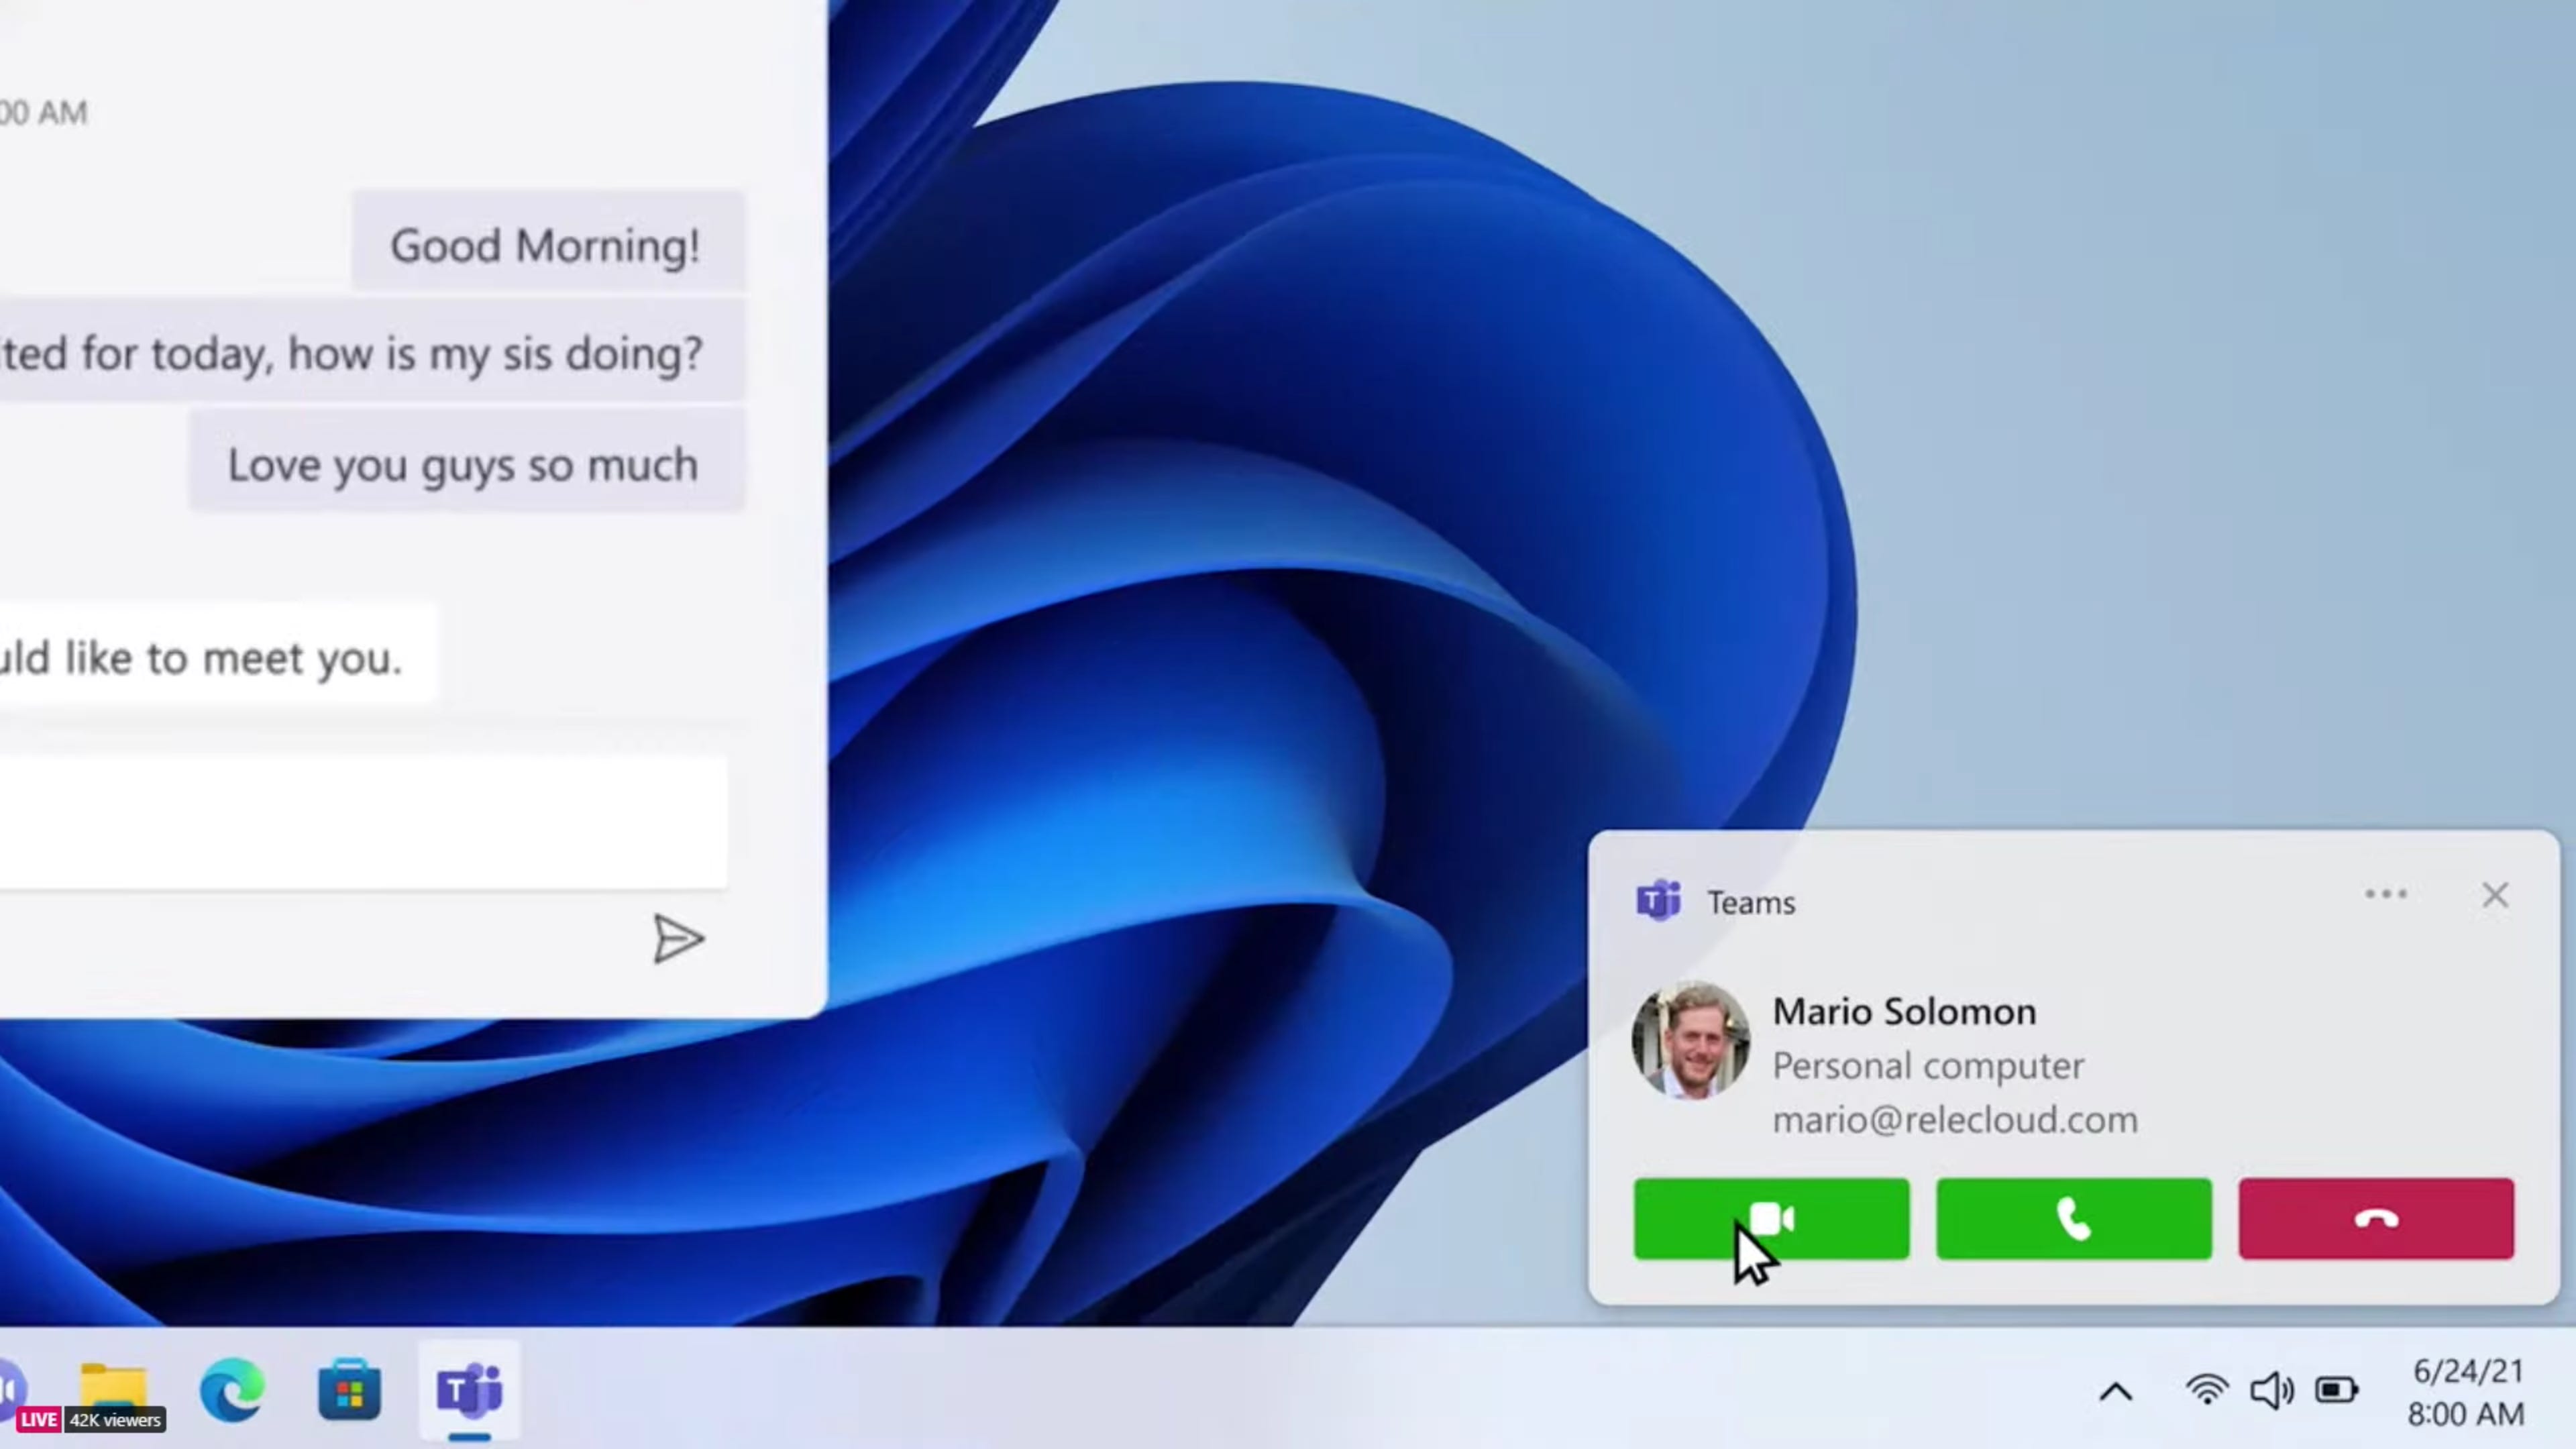
New Windows 11 features include Microsoft Teams integration.
Microsoft/Screenshot by Sarah Tew/CNET
Is my device capable of TPM 2.0 and Secure Boot?
If the PC Health Checker suggested that TPM isn’t enabled, you should first find out whether that’s an accurate diagnosis. Here’s how.
1. From your desktop, press the Windows key next to the spacebar + R. This will bring up a dialog box.
2. In the text field of the box, type tpm.msc and hit Enter. This should bring up a new window labelled “TPM Management on Local Computer.”
3. Click Status. If you see a message that says “The TPM is ready for use” then the PC Health Checker has misdiagnosed you, and the steps below won’t help. At this point, there are several reasons you might be receiving the wrong error message from Microsoft, so your best bet is to get a professional to take a look at your machine.
If you don’t see that message, and instead see “Compatible TPM cannot be found” or another message indicating the TPM may be disabled, follow the next steps.
Watch this:
Windows 11 review: New OS has us asking, update or wait?
8:32
How do I enable TPM 2.0?
You’re going to need to get to your BIOS menu so you can get to your TPM switch, and there are two ways to do that. We’ll cover both here. The first is for much newer PCs, the second method for those a few years older. Regardless of which you choose, though, you’re going to need to restart your machine. So save any work and close any open windows or programs before proceeding.
From Windows 10’s Start menu
If you have a newer machine running Windows 10, your boot time may be too fast for you to try the traditional method of hitting a particular key to get to your BIOS menu before Windows can fully load. Here’s how to get to it from inside your normal desktop.
Brett Pearce/CNET
1. Start your computer normally and open the Start menu by clicking on that Windows button on the far left bottom of your screen. Click on the gear-shaped Settings icon on the left side of the menu.
2. Within the Settings window that appears, click Update & Security. On the left-side pane that appears, click Recovery. Under the Advanced startup header, click Restart now.
Your computer will immediately restart, and instead of restarting and bringing you to your normal desktop screen, you’ll be brought to a blue screen with a few options.
3. Click Troubleshoot, followed by Advanced options, followed by UEFI Firmware Settings.
Your device will restart again.
From here, go to Step 2 in the section below and follow the remaining steps.
From start-up
You’re going to need to move very quickly for Step 1. You’ll only have a few seconds to get into the BIOS before your operating system loads. If you miss your window, no harm done, you’ll just have to restart the computer and try again. After Step 1, though, feel free to take your sweet time.
1. Restart your computer, and as it’s booting up you should see a message telling you to press a certain key to enter the BIOS, whether it uses that word or another. On most Dells, for instance, you should see “Press F2 to enter Setup.” Other messages might be “Setup = Del” (meaning Delete) or “System Configuration: F2.” Press whatever key the prompt tells you to and enter the Setup menu.
Depending on what kind of computer you have, a different key may be needed to enter your Setup menu. It could be F1, F8, F10, F11, Delete or another key. If there’s no message on the screen with instructions, the general rule is to hit the key when you see the manufacturer’s logo but before Windows loads. To find out which key will get you in, search online for your laptop’s make and model along with the phrase “BIOS key.”
2. In the BIOS or UEFI menu, there should be at least one option or tab labelled Security. Using your keyboard, navigate to it and hit Enter. On some systems, you might need to use the + key to expand a submenu instead.
3. Once you’re inside the Security section, you’re going to be looking for the TPM settings. This might be clearly labeled “TPM Device,” “TPM Security” or some variation. On Intel machines, it will sometimes be labeled “PTT” or “Intel Trusted Platform Technology.” It might also appear as “AMD fTPM Switch.”
Warning: Stay alert here. Within most TPM settings menus, you generally have an option to clear your TPM, update it or restore it to factory default. Do not do that right now. Clearing the TPM will cause you to lose all data encrypted by the TPM and all keys to the encryption. This action can not be undone or reversed.
4. From inside the TPM settings menu, you’re on one mission only: Find the switch that turns on the TPM. You’re not touching anything else. Look through the options inside this menu for one that shows some form of toggle or switch beside the word “Enable” or “Unavailable” or even just “Off.” Use your arrow keys to flip that toggle or switch.
5. Once you’ve kicked on the TPM, look around the screen for Save. Once you’ve saved this setting, restart the computer.
Microsoft
How do I enable Secure Boot?
You’ll save yourself a headache if you keep one thing in mind about enabling Secure Boot. Sometimes after you enable Secure Boot on a machine that’s running software incompatible with Secure Boot, the machine will refuse to load Windows properly on restart. If that happens, don’t panic. You didn’t break anything.
No matter which method you’ve used to get to the boot menu to begin with — either via Windows 10’s Start menu, or by the traditional method of hitting a specific key during start-up — you can still use the traditional method to get back to the boot menu and disable Secure Boot again.
From Windows 10’s Start menu
Follow the steps above to access the UEFI Firmware Settings.
1. Once you’re in the UEFI, you’re going to be looking for the Secure Boot setting. There are a few possible places this could be — check under any tabs labelled Boot, Security or Authentication.
2. Once you’ve checked the tabs and found the Secure Boot setting, toggle the switch beside it to turn it on or enable it.
3. Find your Save feature and, after you’ve saved your changes and exited the menu, your computer should reboot and bring you back to a normal Windows desktop.
There are some PCs on which you may not be able to readily find the Secure Boot setting. Some computers will load Secure Boot keys under a Custom tab. Some computers won’t allow you to enable Secure Boot until certain factory settings are restored. If you’re unable to access Secure Boot, or get roadblocked here, it’s best to get help from a professional rather than take chances.
From start-up
If you’re not working with UEFI, then you should be able to just enable Secure Boot in BIOS.
1. Just as you did when enabling your TPM, hit F2 (or whichever key your manufacturer specifies) as your computer is booting up and enter the BIOS menu.
2. Go to the tab or option that says BIOS Setup, and then select Advanced.
3. Next, select Boot Options and a list of them should appear.
4. In that list, find Secure Boot. Enable it.
5. Hit Save, exit the menu system, and restart your computer if it does not restart automatically.
Watch this:
Windows 11: Top new features in 2021
3:22
What if I don’t have a TPM chip?
As noted by CNET sister publication ZDNet back in 2017, motherboard manufacturers sometimes skimp on installing the actual TPM chip and instead send the boards out with only the part that allows the chip to connect to the board. If you find out that you were shorted on your TPM chip when you bought your PC, and you don’t have a virtual or firmware TPM version, you still have a few options.
Your first option is to try to return your machine via your manufacturer warranty. That is, of course, assuming your machine’s manufacturer is willing to install the chip it already sold you, or replace your model with one that has a chip. Your second, and most expensive, option is to simply buy a newer machine after verifying that it does, indeed, have an actual TPM 2.0-capable chip.
If your warranty is already voided, your third option — less expensive, but perhaps more difficult — is to buy a whole new motherboard with a TPM 2.0 chip installed, then either swap out the boards yourself or have your local aftermarket repair shop handle the job. Be warned, however, that the ongoing global chip shortage has squeezed the world’s supply of motherboards, making them more difficult to find and pushing prices to upward of $300 to $400 dollars for some brands. That’s another place your local repair shop may be able to help.
Finally, either you or your repair shop can try your fourth option: hunting down a TPM chip with the right specifications for your motherboard and installing it. Depending on the type you go with and where you get it from, a TPM 2.0-capable chip can run you anywhere from $70 up. Luckily, the basic structures of the boards and chips are similar enough that — if you’d like to get your hands dirty under the hood — it’s possible to install a TPM chip yourself. ZDNet has step-by-step instructions (with a helpful gallery of pictures to guide you).
Whichever route you go, we strongly advise you to first consult either your manufacturer or a device repair specialist before you try to take apart your machine. Spending a few moments with a knowledgeable professional could be all it takes to turn your upgrade nightmare into a quick fix, and spare you excessive replacement costs.
For more, check out how to download Windows 11, and the best new Windows 11 features and how to use them.


